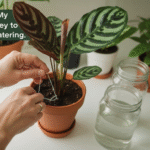
There’s a dream many of us with city balconies share: a lush, green oasis. We imagine stepping out to a wall of tomatoes, pots overflowing with basil, and vibrant petunias. But the reality? The reality is often a collection of crispy, brown, and very dead plants after a single weekend away. Balcony gardening is tough. Your plants are in a constant battle against wind, intense sun, and the fast-drying nature of small containers.
Hi, I’m Priya. My journey into this world started about five years ago when I was determined to grow cherry tomatoes on my tiny, sun-baked balcony. I’ll be honest: I killed a lot of plants. That frustration sent me down a rabbit hole, mixing my curiosity for smart home tech with my new-found (and struggling) passion for gardening. I’ve spent these past few years testing, breaking, and rigging up just about every smart watering gadget I could find for small spaces. I’m here to share what I’ve learned, so you can skip the “crispy plant” stage and get straight to a thriving, beautiful balcony garden.
Why Your Balcony Plants Are Thirstier Than You Think
Before we get into the solutions, we have to understand the problem. A balcony is not a normal garden. It’s an extreme microclimate, and your plants are at its mercy. I learned this the hard way.
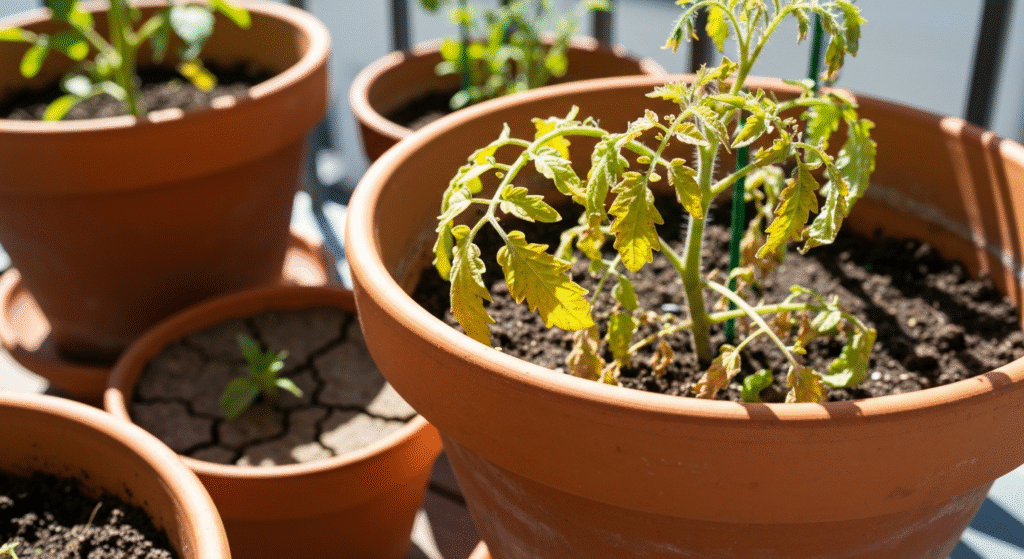
- The Container Effect: A plant in a pot, especially a traditional terracotta one, has very little soil to hold moisture. That soil is exposed to the air on all sides, causing it to dry out incredibly fast.
- Intense Sun and Wind: Your balcony might be a sun-trap, baking the soil by 10 AM. Or it might be a wind tunnel, wicking moisture from the leaves and soil all day long. My first herbs didn’t just dry out; they were practically wind-burned.
- The “All or Nothing” Watering Cycle: When we hand-water, we often do it inconsistently. We forget for a day, then drench the plant to “make up for it.” This cycle of drought followed by flood is stressful for plants. It can lead to problems like split tomatoes or blossom-end rot (a frustrating issue I battled for a whole season).
Consistent moisture is the single biggest secret to successful container gardening. But who has time to water three times a day? This is where automation stops being a luxury and becomes a necessity.
Understanding Your Automated Watering Options
“Automation” sounds complex and expensive, but it doesn’t have to be. It can range from a simple, non-electric planter to a fully Wi-Fi-controlled system. After years of experimenting, I’ve found they generally fall into a few main categories.
Drip Irrigation Systems: The Precision Approach
This is the system I ultimately landed on for my main setup. A drip system is a network of tubes that delivers water directly to the base of each plant, one drop at a time.
- How it works: A main “trunk” line (1/2-inch or 1/4-inch tubing) runs from your water source. You then punch holes in it and run smaller “feeder” lines (1/4-inch “spaghetti” tubing) to each individual pot. An emitter at the end controls the flow, from a slow 0.5-gallon-per-hour drip to a small micro-sprayer.
- Pros:
- Hyper-efficient: Almost no water is lost to evaporation.
- Customizable: You can give a thirsty tomato plant two emitters while your drought-tolerant rosemary gets just one.
- Keeps leaves dry: Delivering water to the soil, not the leaves, is the #1 way to prevent common fungal diseases like powdery mildew.
- Cons:
- The setup: It’s not “plug-and-play.” You will spend an afternoon measuring, cutting, and connecting tubes. It can look a bit “industrial” if you don’t take the time to hide the tubing.
- Clogging: This was my biggest headache at first. My city water is hard, and the emitters would clog with mineral deposits. My solution: An inexpensive, inline “Y” filter is not optional. It’s a requirement.
My first attempt was a basic gravity-fed kit. It was fussy, and the pressure was too low. I finally had success when I paired a kit with a simple, battery-operated timer that attaches right to the spigot.
Self-Watering Planters: The “Set It and Forget It” (Almost)
These are brilliant, low-tech solutions, and I still use them for my thirstiest plants, like tomatoes and mint.
- How it works: The planter has a built-in water reservoir at the bottom. A “wicking” system (often a hollow tube you fill with soil or a fabric strip) draws moisture up into the main soil as it dries out.
- Pros:
- Simple: You just fill the reservoir every few days (or even once a week, depending on the plant and weather).
- Consistent Moisture: The plant takes exactly what it needs, when it needs it. This is the best way I’ve found to beat blossom-end rot.
- Clean Look: No tubes, no wires.
- Cons:
- Needs manual refilling: It’s not truly “automated.” You can’t go on a two-week vacation.
- Root rot risk: If the wicking system is too aggressive or the soil doesn’t drain well, the roots can stay too wet. I learned to add an extra layer of perlite to my soil mix when using these, just to improve aeration.
- Cost: Buying a dozen of these can be more expensive than one drip kit.
Smart Irrigation Timers & Wi-Fi Controllers
This is the “brain” that makes your system truly smart. This is where my tech-nerd side got really excited. Instead of a simple battery timer, these controllers connect to your home Wi-Fi.
- How it works: It connects to your water source (or in some cases, a pump) and to an app on your phone. You can set detailed schedules, turn the water on or off from your office, and more.
- Pros:
- Total control: You can manage everything from your phone.
- Weather integration: This is the killer feature. Most smart timers (like Rachio or RainPoint) can check the local weather. If it just rained, they’ll automatically skip the next watering schedule. This saves water and prevents over-watering.
- Peace of mind: Being able to check an app and see that your garden was watered while you’re on vacation is priceless.
- Cons:
- Needs Wi-Fi and Power: Your Wi-Fi must reach your balcony. Most timers need batteries, but the Wi-Fi “hub” often needs to be plugged in indoors.
- Cost: This is the most expensive option.
- Fiddly: My advice is to buy one with a manual “water now” button on the device itself. Wi-Fi will drop, apps will crash, and you don’t want your plants to suffer because of a software update.
Simple DIY Options (When You’re on a Budget)
I started here, and they have their place. These are great for a long weekend, but not a permanent solution.
- Watering Globes: The classic glass or plastic globes you fill with water and stick in the soil.
- My experience: They’re unreliable. They either clog with soil and release no water, or they drain entirely in one afternoon.
- Bottle Drip: The old trick of poking a hole in a plastic bottle cap and burying it.
- My experience: Better than a globe, but the flow is impossible to control. It’s fine in a pinch for a large pot, but not precise.
- Wicking System: A simple cotton string running from a jar of water into your pot’s soil.
- My experience: This actually works surprisingly well for one or two small pots! It’s basic physics (capillary action). It was my go-to “vacation saver” before I got my full drip system.
How to Plan and Install Your Balcony System
Okay, let’s build this. Here’s the step-by-step process I’ve refined over the years.
Step 1: Assess Your Balcony and Your Plants
I sat down with a notepad and a pencil. Don’t skip this.
- Count your pots: How many containers do you have? How many do you plan to have?
- Make a “Plant Map”: Note which plants are in full sun (like my peppers) and need more water, and which are in shade (my ferns) and need less. This “zoning” is critical.
- Find Your Water Source: This is the big one. Do you have an outdoor faucet (a “hose bibb”)? If so, you’re golden. If not, don’t worry. Neither do I.
- Find Your Power Source: If you want a smart controller, do you have an outdoor-rated outlet? If not, you’ll need a battery-powered timer.
Step 2: Choose Your “Heart” – The Timer and Water Source
This is the most important decision.
- If you HAVE an outdoor faucet: This is easy. You can buy any standard, battery-operated faucet timer (from brands like Orbit or Gardena) or a smart Wi-Fi faucet timer. It screws on just like a hose.
- If you DON’T have a faucet (My Situation): You have two great options.
- The Faucet Adapter: You can get an adapter that screws onto your kitchen or bathroom sink, letting you attach a hose. This is messy and means running a tube through your house, but it works.
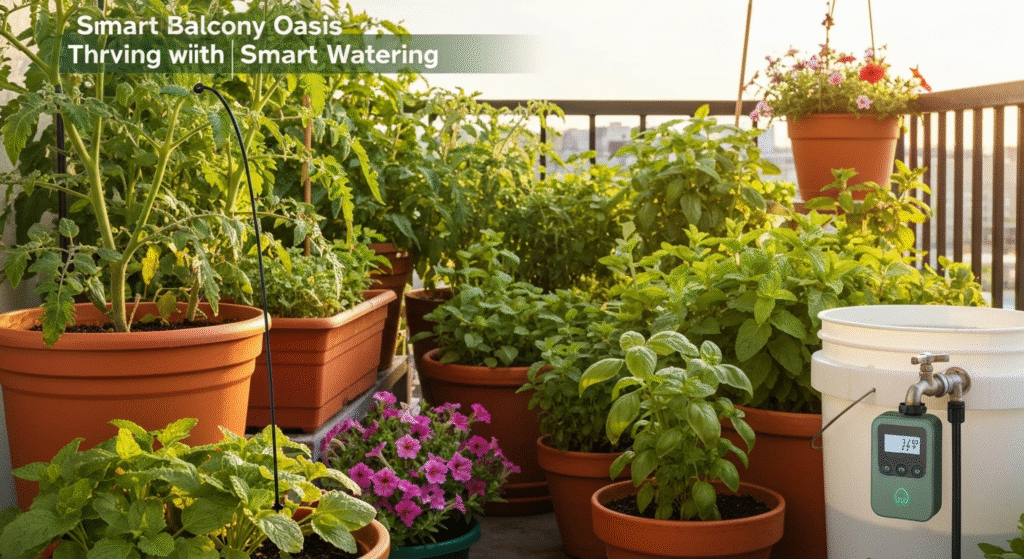
- The Bucket-and-Pump System: This was my game-changer. Many kits (from brands like RainPoint) are now designed for this. They come with a small, submersible pump that you drop into a 5-gallon bucket or a large water jug. The timer/controller sits on top and controls the pump. You just have to keep the bucket full. This is what I use, and it’s fantastic.
Step 3: Laying the “Veins” – Tubing and Emitters
Get ready to get your hands dirty.
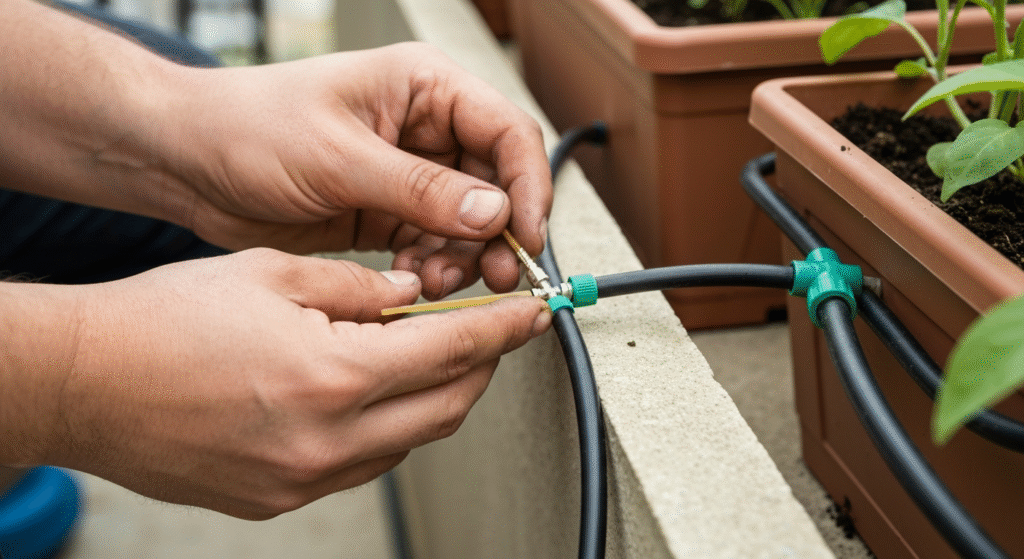
- Run the Main Line: Start from your timer/pump and run the main 1/4-inch tubing along the edge of your balcony. Use zip ties or small hooks to secure it neatly.
- Cut Feeder Lines: At each pot, use the (often-included) hole-punch tool to make a clean hole in the main line. Push a “barbed connector” in, then attach a length of 1/4-inch spaghetti tubing long enough to reach the center of your pot.
- Add Emitters: Attach an emitter to the end of each spaghetti tube and secure it with a small stake so it’s pointing at the soil, not spraying into the air.
- Use the Right Emitter: Don’t just use one type.
- Drip Emitters (0.5-2 GPH): Use these for 90% of your plants (herbs, flowers, etc.).
- Bubblers/Micro-Sprayers: Use these for very large pots (like my 15-gallon tomato container) or window boxes to cover more soil area.
My Pro-Tip: Dip the end of the 1/4-inch tubing into a cup of hot water for 10 seconds before you try to push it onto a connector. It makes the plastic pliable and saves your thumbs. Trust me on this. For more in-depth technical details on different emitter types and pressure, this guide from theColorado State University Extensionis a fantastic resource.
Step 4: Test, Tweak, and Test Again
Do not set this up and then leave for a week.
The first time I ran my system, I created a mini-geyser. I’d forgotten to cap the end of the main line. Run the system for 5-10 minutes and watch.
- Is a connection leaking?
- Is one emitter drowning a small succulent?
- Is the soil in the back of a long window box getting any water at all?
This “calibration phase” takes a few days. You’ll add an emitter here, dial one back there. This is where you guarantee success.
Common Mistakes I’ve Made (So You Don’t Have To)
I’ve made almost every mistake possible. Here are the big ones:
- Ignoring Water Pressure: My first gravity system (a bag on the wall) barely dribbled. Most drip systems need a minimum amount of pressure to work. A pump or a faucet connection provides this.
- Forgetting a Filter: I’ve said it once, but I’ll say it again. Emitters are tiny. A tiny grain of sand or a mineral deposit will clog them. An inline filter is your best friend.
- One-Size-Fits-All Watering: Trying to water my cactus and my mint on the same 10-minute schedule. This is a recipe for disaster. The solution is to use different emitters (a 0.5 GPH for the cactus, a 2.0 GPH for the mint) or put them on totally separate “zones” if your timer allows.
- Buying the Cheap, Brittle Tubing: Not all kits are made equal. The cheap, vinyl tubing in some budget kits gets hard and cracks after one season in the hot sun. It’s worth paying a few extra dollars for UV-resistant poly tubing.
Comparing Popular Balcony Watering Solutions
Here’s a quick breakdown based on my years of trial and error. This isn’t a lab test, just my real-world experience.
| Feature | Drip System (with Timer) | Self-Watering Planters | Smart Wi-Fi Controller |
| Best For | A mixed collection of many plants (herbs, flowers, veggies). | Thirsty individual plants like tomatoes, peppers, and mint. | The tech-savvy gardener who wants remote control and weather data. |
| My Experience | My go-to workhorse for the whole balcony. The setup was a one-time project, but the daily payoff is huge. | I swear by these for my ‘problem’ plants that always wilted. It’s the simplest way to keep them happy. | This was a total upgrade. The weather-skip feature is the best part. It took an hour to set up the app, but it’s been great. |
| Setup Time | 2-4 hours (for the first time) | 10 minutes (per pot) | 1 hour (plus the drip system setup) |
| Maintenance | Check/clean filter monthly. Check emitters for clogs. | Refill reservoir every 3-10 days, depending on weather. | Check Wi-Fi connection; change batteries yearly. |
A quick note: these are just my observations. The “setup time” and cost can change a lot based on your balcony’s size and the specific brands you choose. This is just a starting point to help you think.
The Link Between Automation and a Healthier Garden
This was the most surprising discovery for me. I got into automated watering for convenience. I thought it was “lazy” gardening. I was wrong.
It’s better gardening.
My plants got healthier. Why? Consistency.
Plants don’t like the “boom-bust” cycle of drought and flood from a watering can. They thrive on routine. A drip system provides consistent, low-level moisture, which encourages roots to grow deep and strong, searching for water. Shallow, daily hand-watering encourages weak, shallow roots that are vulnerable to the first hot afternoon.
My tomato blossom-end rot vanished. My basil bushes became huge. My petunias bloomed non-stop. It turns out, automation isn’t about replacing the gardener; it’s about giving the gardener a tool to provide the perfect, consistent environment for their plants to thrive.
FAQs: My Quick Answers to Your Top Questions
What if I don’t have an outdoor faucet?
This was my exact problem! The solution is a pump-based system. You get a kit that includes a small submersible pump, a timer, and tubing. You drop the pump into any large water container (like a 5-gallon bucket or a decorative water jug), and the timer controls when the pump turns on, pushing water through the tubes to your plants.
Can I automate watering for just one or two plants?
Absolutely. You don’t need a full drip system for this. A simple self-watering planter is your best bet. If you’re going on vacation, a DIY wicking system (a cotton string from a jar of water to the plant’s soil) works remarkably well for a week or two.
Do I need to bring the system in for the winter?
Yes. If you live anywhere that freezes, you must winterize the system. Water left in the tubes, filter, or timer will freeze, expand, and crack everything. I just disconnect my timer and pump, drain the tubes by blowing air through them, and store the main components indoors.
How long can I leave my plants with an automated system?
With a faucet-based drip system, indefinitely. With my 5-gallon bucket-and-pump system, I can go about 7-10 days before I need to refill the bucket, depending on the weather. If I’m leaving for longer, I set up a second, larger 10-gallon tub.
Your Balcony Garden Can (and Will) Thrive
Setting up my first automated watering system felt intimidating. There were tubes, connectors, and a lot of new terms. But the payoff—coming home from a long weekend to a balcony that was not just surviving, but actively thriving—was a total revelation.
It’s not about being “hands-off.” I still love my morning routine of checking leaves, pruning, and enjoying the garden. This is about taking away the biggest point of failure. It’s about giving your plants the one thing they crave most: consistency.
Start small. Maybe with one self-watering planter for your tomato. Or a simple drip kit for your herb box. You’ll be amazed at the difference it makes.